Preparing the GO MINI Vaporizer
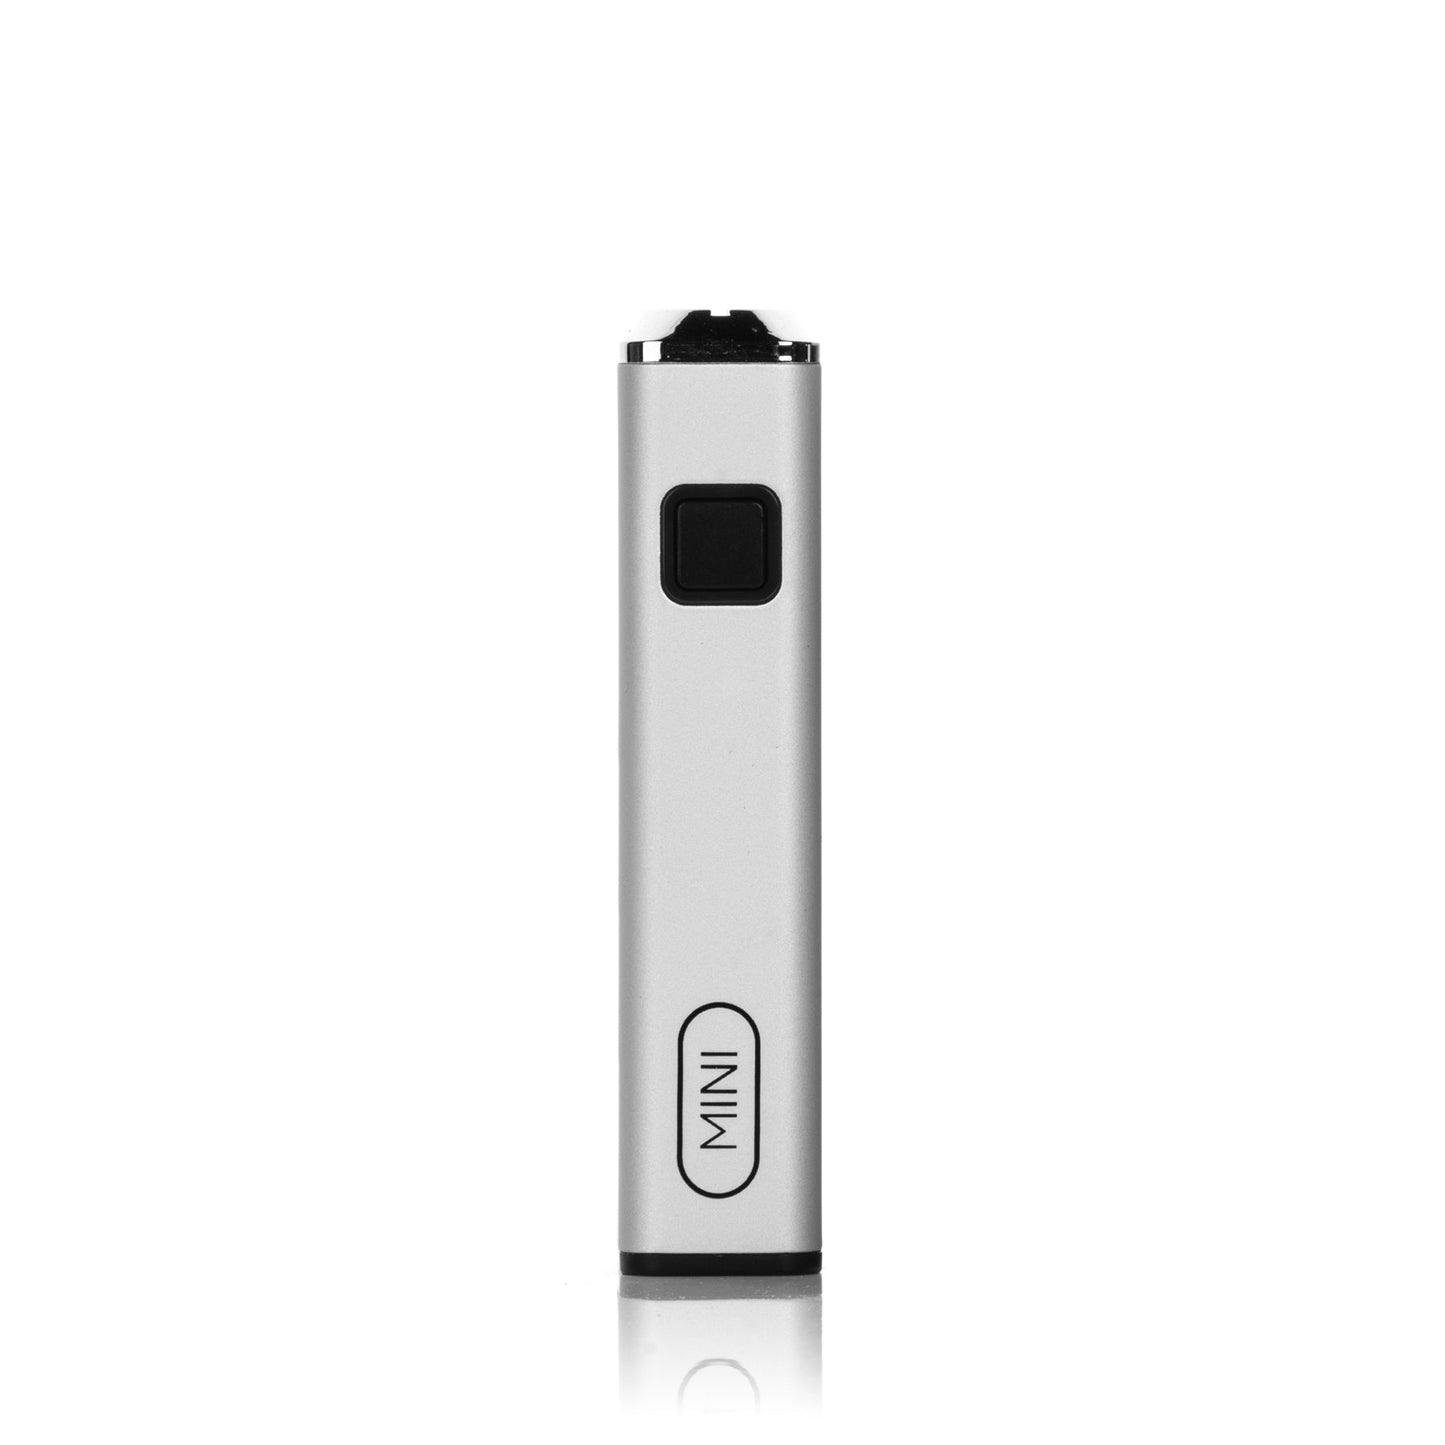
Note: The power button of the GO MINI Vaporizer is located at the upper part of the battery and is the square shaped button on the vaporizer battery that lights up when opened.
- The first step is to charge your GO MINI Vaporizer.
- After charging the battery, continue by powering the GO MINI Vaporizer on by pressing the power button five times.
- If you are using a brand new coil for the first time, you can sterilize the coils to ensure that you remove any impurities left during the manufacturing process. You can sterilize the coils by pressing and holding the power button for five seconds two or three times.
- After sterilizing the coils, let the vaporizer rest and sit for about two to three minutes. After so, you can begin loading your select concentrates on the GO MINI Vaporizer.
Loading the GO MINI Vaporizer with Wax
Note: The GO MINI Vaporizer can be used with wax concentrates. Use a compatible 510-threaded wax coil. When loading, make sure that the dab tool does not touch the coils as contact with another metal may cause the coils to break or get damaged.
- Get your preferred wax coil.
- Check the GO MINI Vaporizer 510-threaded connections and look for obstructions that can block the connection between the coil or the battery, remove if necessary.
- Connect the 510-threaded wax coil by twisting the coil clockwise, stop when you feel a significant amount of resistance.
- If it’s the first time you’re using your GO MINI Vaporizer, be sure to sanitize it first.
- Prepare your dab tool and scoop up a decent amount of wax concentrates. Place it on top the coil.
- Replace any necessary accessories onto the coil like a mouthpiece, etc.
Loading the GO MINI Vaporizer with an Oil Cartridge
Note: The GO MINI Vaporizer can be used with oil cartridges. Use a compatible 510-threaded oil cart. When using a refillable oil cartridge, make sure to refill the cartridge first before placing it on the GO MINI Vaporizer as spillage can cause inconvenience or damage to the battery.
- Make sure to fill your refillable cartridges with oil before connecting it to the GO MINI Vaporizer. Disregard this step if using a pre-filled cartridge.
- Check the GO MINI Vaporizer 510-threaded connections and look for obstructions that can block the connection between the coil or the battery, remove if necessary.
- Connect the 510-threaded oil cartridge by twisting it clockwise, stop when you feel a significant amount of resistance.
- Replace any necessary accessories onto the cartridge like a mouthpiece, etc.
Using an Oil Cartridge with the GO MINI Vaporizer
- Ensure that your GO MINI Vaporizer is completely charged, suitably sterilized, and is loaded with concentrates or oils before you begin your vaping session.
- Next, make sure that you have selected your preferred voltage setting.
- Then, ensure that the GO MINI Vaporizer is loaded and press your lips onto the mouthpiece and prepare to draw or inhale.
- Press and hold the power button. When the GO MINI Vaporizer starts making vapors inhale from the mouthpiece and check the vapor production.
- Repeat this process as necessary or as the concentrates or oils are fully consumed.
Powering the GO MINI Vaporizer On and Off
Note: Make sure that the battery is fully charged.
- Press the power button five times quickly to turn the GO MINI Vaporizer on.
- Press the power button five more times to turn the GO MINI Vaporizer off.
Changing the Voltage Setting of the GO MINI Vaporizer
Note: Make sure that the GO MINI Vaporizer is powered on before changing the voltage setting.
- Press the power button twice to toggle through the pre-set voltage settings.
- Release the power button when you have selected your preferred voltage level.
GO MINI Vaporizer Voltage Settings
- Low – 2.6V – White Light
- Medium – 3.2V – Green Light
- High – 3.8V – Red Light